Mastering Vanilla Butter: Easy Recipe & Creative Flavor Twists
Imagine a spread so rich, so aromatic, and so utterly delicious that it elevates every piece of toast, every muffin, and even your morning coffee to a gourmet experience. We're talking about vanilla butter – a luxurious sweet compound butter that's surprisingly simple to create at home. While compound butters often conjure images of savory herbs and spices, the sweet side of flavored butter, particularly with the warm embrace of vanilla, is a culinary revelation.
Learning how to make vanilla butter is not only quick, often taking less than 10 minutes for the infused version using store-bought butter, but it's also incredibly rewarding. And for those who love to craft everything from scratch, transforming fresh cream into homemade butter and then infusing it with real vanilla takes the experience to an entirely new level. This article will guide you through the straightforward process, reveal essential tips for perfection, and inspire you with creative flavor combinations that will make your vanilla butter truly unforgettable.
The Magic Behind Homemade Vanilla Butter: Why Bother?
You might wonder, with so many spreads available, why dedicate time to making your own vanilla butter? The answer lies in the unparalleled sensory experience and the sheer satisfaction of homemade goodness. When you make vanilla butter from scratch, you're not just creating a condiment; you're crafting an experience:
- Unrivaled Freshness and Flavor: Homemade butter, even before adding vanilla, boasts a freshness that store-bought versions simply can't match. When you infuse it with real vanilla, especially from a fresh pod, the aroma is intoxicating, and the flavor is vibrant and authentic, far superior to anything with artificial vanilla flavoring.
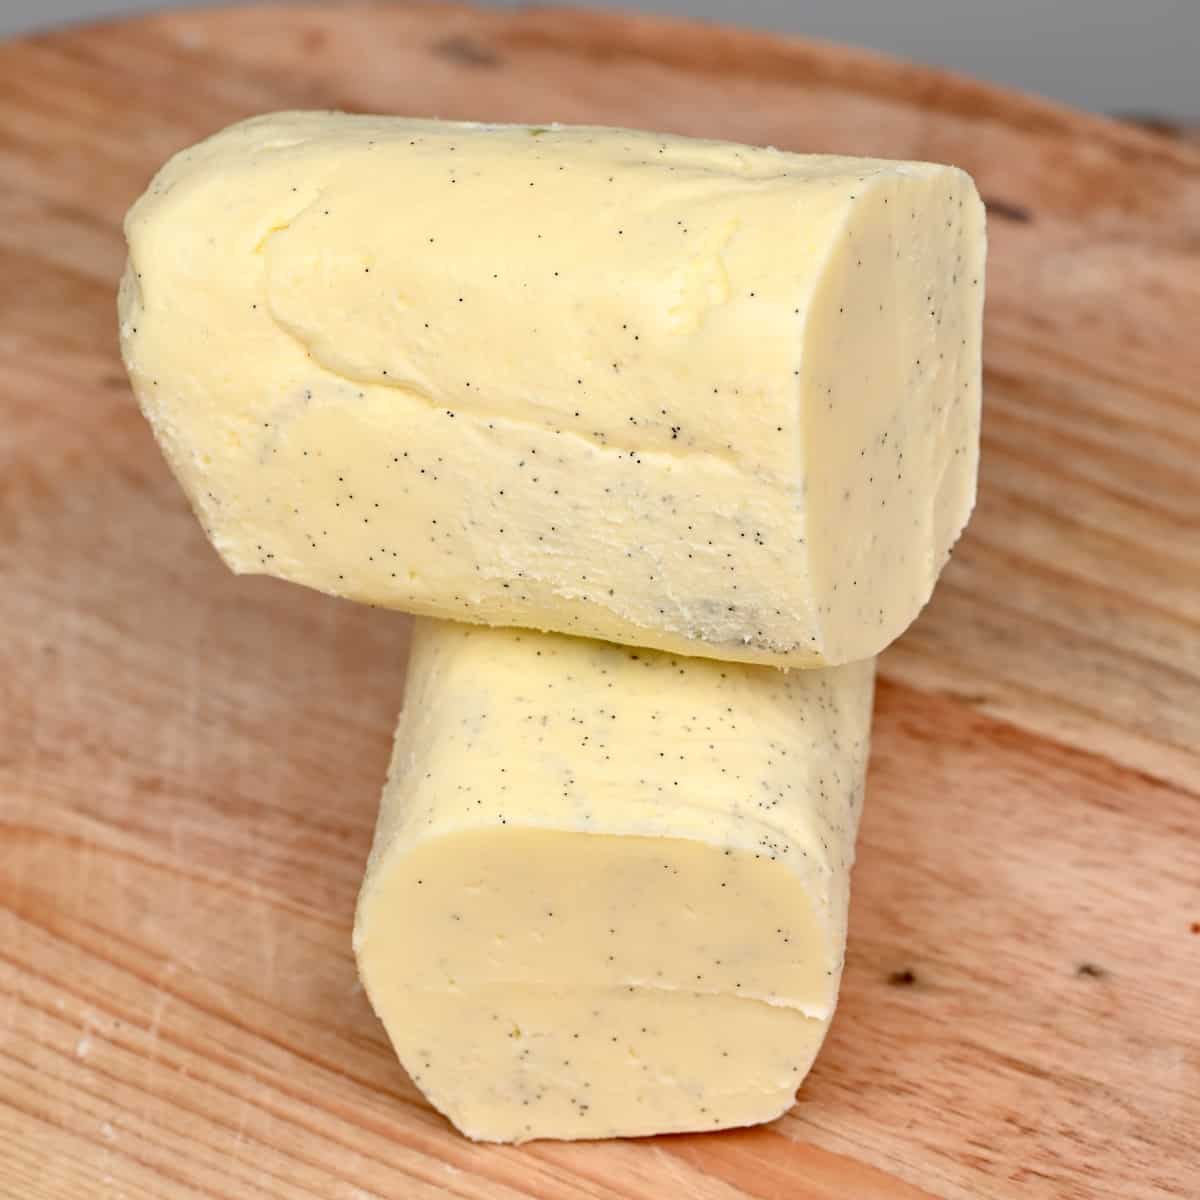
- Visible Vanilla Specks: Using a fresh vanilla bean means you get those beautiful, tiny black specks distributed throughout your butter. This visual appeal instantly signals quality and homemade care, making your spread feel truly special.
- Customization at Your Fingertips: From the level of sweetness to the intensity of the vanilla, and even the addition of other complementary flavors, you have complete control. This allows you to tailor the butter precisely to your taste preferences and specific culinary applications.
- A Touch of Nostalgia: For many, homemade butter evokes memories of simpler times or childhood kitchens. There's a comforting, almost nostalgic quality to spreading freshly made butter on warm bread.
- Knowing Your Ingredients: By making it yourself, you control exactly what goes into your food, avoiding unwanted additives or preservatives often found in commercial products.
The process of whipping cream into butter might seem intimidating, but it's a fascinating transformation that yields delicious results, making the effort truly worthwhile.
How to Make Vanilla Butter: The Simple Two-Ingredient Base Recipe
At its heart, vanilla butter can be incredibly simple, requiring just two core ingredients if you start with store-bought butter, or just two if you're making the butter from cream itself. For a truly authentic experience that starts from scratch, you'll need fresh cream and a vanilla pod.
Essential Ingredients:
- Heavy Cream, Double Cream, or Whipping Cream: The secret to excellent homemade butter lies in high-fat cream. Look for fresh cream with at least 35-40% butterfat content. The higher the fat, the quicker and easier your cream will transform into butter. Ensure your cream is well-chilled before you begin, as cold cream whips more effectively.
- Vanilla Pod (Vanilla Bean): This is where the magic happens! A fresh vanilla pod provides the most authentic and visually appealing vanilla flavor, thanks to its hundreds of tiny, aromatic seeds. Scrape these seeds directly into your butter for beautiful specks and intense flavor. If a fresh pod isn't accessible, a high-quality natural vanilla extract can be used, though you'll miss the aesthetic appeal of the specks. For an extra punch, some like to add both the scraped seeds and a splash of extract.
Quick Tip: For the most pronounced vanilla flavor and those coveted specks, always opt for a fresh vanilla bean. Split it lengthwise and use the back of a knife to scrape out the seeds.
Optional Enhancements for Flavor & Sweetness:
While the cream and vanilla form the foundation, a few additions can elevate your vanilla butter to new heights, allowing you to create a sweet compound butter perfectly suited for any occasion. For a quick and easy start with minimal ingredients, check out our guide on Easy Homemade Vanilla Butter: Just 2 Ingredients, Ready in Minutes.
- A Pinch of Salt: Don't underestimate the power of salt! Even in a sweet spread, a tiny pinch of fine sea salt can balance the sweetness, deepen the vanilla flavor, and add a subtle complexity that makes the butter truly pop. Start with a tiny amount and taste.
- Powdered Sugar or Sweetener of Choice: If you're aiming for a distinctly sweet vanilla butter, powdered (confectioners') sugar is your best friend. Its fine texture blends seamlessly into the butter, ensuring a smooth, grit-free spread. You can easily adapt this to your preferred sweetener:
- Cane Sugar: Grind it finely in a spice grinder or food processor to prevent a gritty texture.
- Coconut Sugar: Offers a caramel-like note; also best ground.
- Granulated Erythritol or Stevia blends: For a sugar-free alternative, grind these into a fine powder before incorporating.
Expert Advice: Grinding your own sugar ensures it's superfine, which is essential for a smooth, homogenous butter. Even a minute in a clean coffee grinder will do the trick!
Step-by-Step Guide to Whipping Up Your Own Vanilla Butter
The transformation of cream into butter is a simple, albeit mesmerizing, process. With the right equipment, you'll go from liquid cream to solid butter in mere minutes.
Equipment You'll Need:
- Stand Mixer: Equipped with a whisk attachment, this is the easiest and most hands-off method.
- Hand-Held Electric Mixer: Requires a large, deep bowl to contain splashes as the cream whips.
- Strong Whisk (and a lot of muscle/patience): While possible, it's considerably more laborious.
- Fine-Mesh Sieve or Cheesecloth: Essential for draining the buttermilk.
- Large Bowl with Ice-Cold Water: For washing the butter.
- Rubber Spatula or Spoon: For mixing and scraping.
The Process:
- Whip the Cream: Pour your well-chilled heavy cream into the bowl of your stand mixer or a large bowl if using a hand-held mixer. Begin mixing on medium-high speed.
- Initially, the cream will become frothy.
- Then, it will form soft peaks – this is whipped cream! If you wanted plain whipped cream, you'd stop here.
- Continue mixing, and the whipped cream will become stiffer and slightly yellowish.
- Keep going! Suddenly, the cream will "break," separating into solid clumps of butterfat and a milky liquid (buttermilk). You'll notice a distinct change in sound and texture. It might splatter a bit, so keep a lid or towel handy.
- Separate the Buttermilk: Once the butterfat has clearly separated, pour the contents of the bowl through a fine-mesh sieve or cheesecloth-lined colander set over another bowl. Press down on the butter solids with a spatula or your hands (wearing gloves) to extract as much buttermilk as possible. Don't discard the buttermilk! It's a fantastic ingredient for baking pancakes, muffins, or adding tang to savory dishes.
- Wash the Butter: This is a critical step for both the flavor and shelf life of your homemade butter. Residual buttermilk can cause the butter to spoil quickly and develop an off-flavor.
- Place the butter solids into a bowl of ice-cold water.
- Using your hands, a spatula, or the back of a spoon, knead and press the butter in the cold water. The water will become cloudy as buttermilk is squeezed out.
- Drain the cloudy water and replace it with fresh ice-cold water. Repeat this washing process several times, typically 3-4 times, until the water remains clear after kneading the butter.
- Once washed, squeeze out as much water as possible from the butter. You can press it against the side of the bowl or between your hands.
- Infuse the Vanilla (and other additions): Transfer your clean, dry butter to a mixing bowl. Split your vanilla pod, scrape out all the seeds, and add them to the butter. Now is also the time to add any optional ingredients like a pinch of salt and your desired amount of powdered sugar or sweetener. Mix thoroughly using a spatula or by briefly beating with your mixer on low speed, until all ingredients are evenly incorporated and the butter is smooth and creamy.
Key Insight: Washing the butter thoroughly is non-negotiable. It purges remaining buttermilk, which would otherwise ferment and cause your butter to sour prematurely. This single step makes a huge difference in the longevity and pure flavor of your homemade vanilla butter.
Beyond the Basics: Creative Flavor Twists for Your Vanilla Butter
Once you've mastered the basic vanilla butter, the real fun begins! This versatile sweet spread is an excellent canvas for creative flavor combinations. Here are some delightful twists to inspire your culinary adventures:
Sweet & Spicy Combinations:
- Vanilla Honey Butter: A classic made even better with vanilla. After incorporating vanilla, add 1 tablespoon of honey at a time, mixing well, until you reach your desired level of sweetness and honey flavor. The honey adds a lovely golden hue and a subtle floral note that complements the vanilla beautifully.
- Citrus Vanilla Butter: Brighten things up with a hint of citrus zest. Experiment with finely grated orange, lemon, or lime zest. I suggest starting with 1-2 teaspoons of zest for every cup of butter. The citrus oils provide a wonderfully aromatic and tangy counterpoint to the rich vanilla, perfect for light pastries or fruit tarts.
- Cinnamon Vanilla Butter: For a comforting, warm spice blend, add 1/2 to 1 teaspoon of ground cinnamon to your vanilla butter. This pairs exceptionally well with a touch of powdered sugar or honey. It’s perfect for slathering on apple slices, sweet potatoes, or autumn-themed baked goods.
- Vanilla Chai Butter: Take your taste buds on an exotic journey with a fragrant chai spice blend. Combine your vanilla butter with powdered sugar (or honey) and about 1/2 to 3/4 teaspoon of ground chai spice blend (typically a mix of cinnamon, cardamom, ginger, cloves, and black pepper). This complex, aromatic butter is divine on spiced breads or even stirred into warm oatmeal.
Pro Tip: Always taste and adjust your flavorings as you go. It's easier to add more than to correct an overpowering flavor. For more inspiration on creating this delightful spread, delve into Homemade Vanilla Butter: A Simple Guide to a Delicious Sweet Spread.
Serving Suggestions and Storage Tips
The beauty of homemade vanilla butter lies in its incredible versatility. Here are just a few ways to enjoy your creation:
- Breakfast & Brunch: Spread generously on warm toast, English muffins, croissants, pancakes, waffles, bagels, or scones. It makes even the simplest breakfast feel gourmet.
- Baked Goods: Use it as a base for buttercream frosting, or swirl it into sweet bread doughs, muffins, or cookie recipes for an extra layer of vanilla flavor.
- Roasted Vegetables & Proteins: Don't limit yourself to sweet applications! A dollop of vanilla butter can beautifully glaze roasted sweet potatoes, baked squash, carrots, or even add a surprising sweetness to seared pork tenderloin or chicken.
- Sweet Potatoes & Corn on the Cob: A melting pat of vanilla butter on a hot baked sweet potato or a freshly grilled ear of corn is pure bliss.
Storage: Store your homemade vanilla butter in an airtight container or tightly wrapped in parchment paper and then plastic wrap in the refrigerator. If properly washed, it should last for about 1-2 weeks. For longer storage, vanilla butter freezes beautifully for up to 3-6 months. Simply thaw in the refrigerator when ready to use.
Creating your own vanilla butter from scratch is a deeply satisfying culinary adventure. From the simple act of transforming cream into golden butter to infusing it with the exquisite aroma of vanilla, every step is a testament to the joy of homemade goodness. Whether you stick to the classic vanilla or venture into exciting flavor twists, this luxurious sweet spread is guaranteed to impress and delight. So, roll up your sleeves, gather your ingredients, and embark on your journey to mastering vanilla butter – your taste buds will thank you!
